Figured it'd be good to practice a bit more hardsurface modeling for a change. Traditional modeling with blender in this case.
Found this model of a retro camera from japan called Yashicaflex.
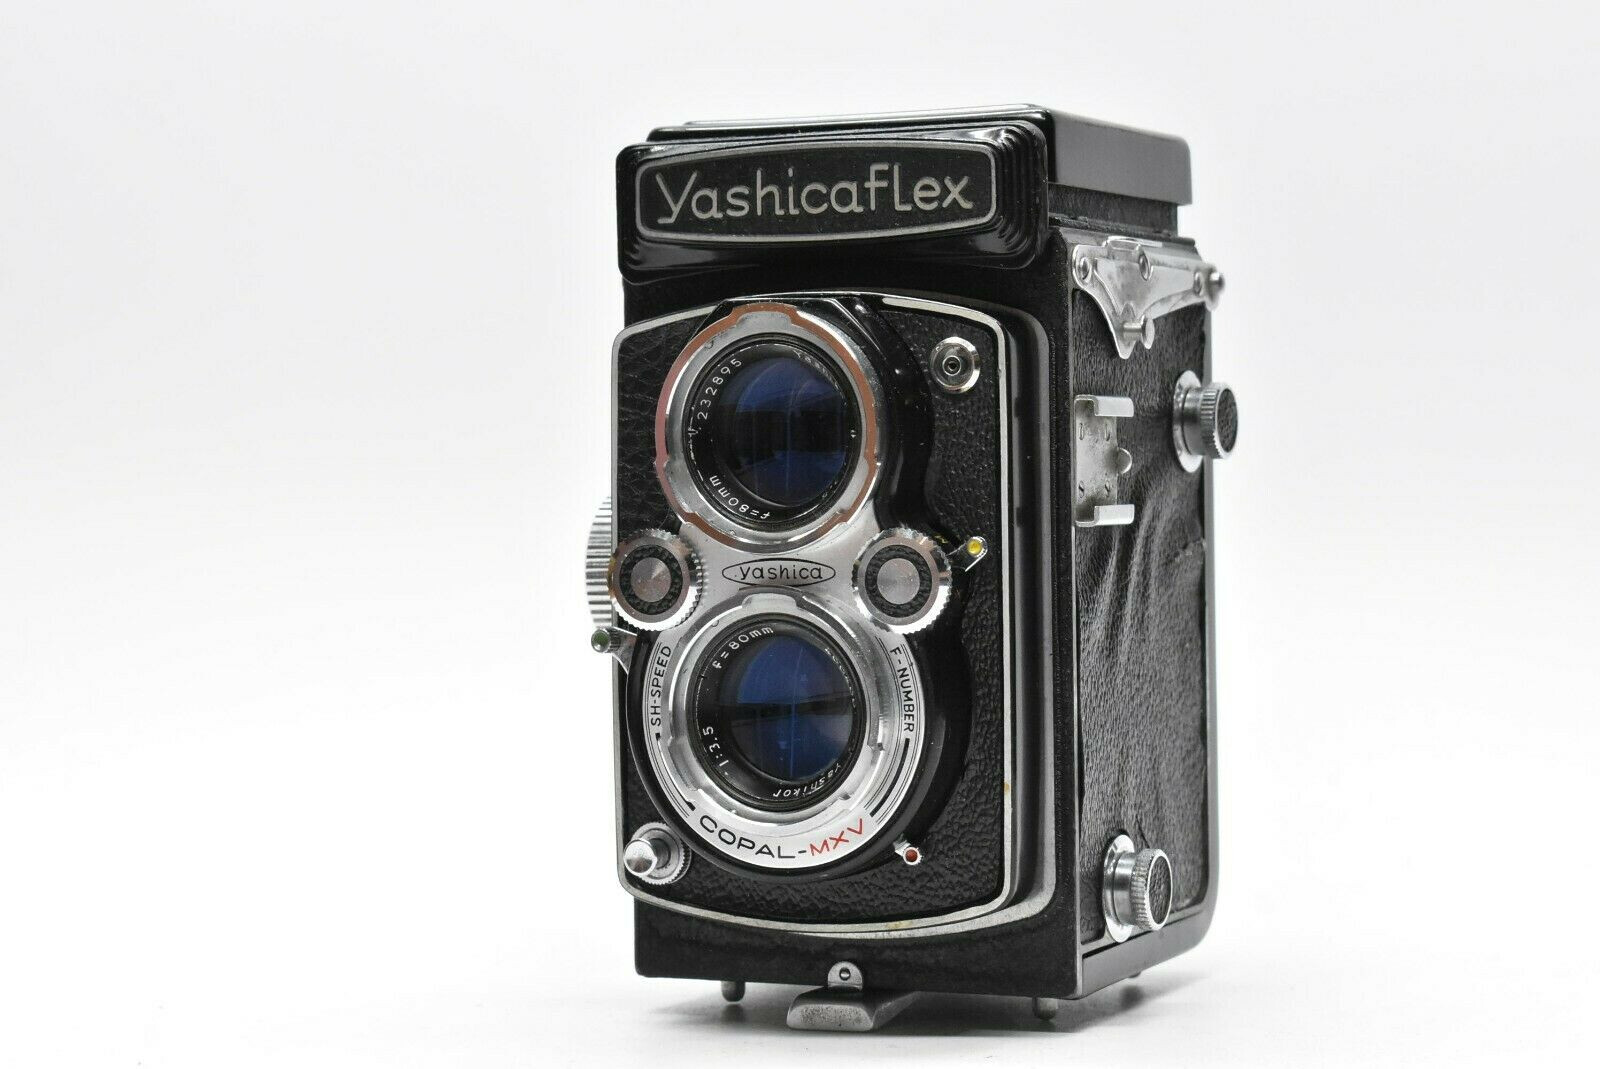
The whitebox is complete now off to detailing!


Figured it'd be good to practice a bit more hardsurface modeling for a change. Traditional modeling with blender in this case.
Found this model of a retro camera from japan called Yashicaflex.
The whitebox is complete now off to detailing!
Very small update on the lantern. I didn't really work much on it this week but it was fun figuring out the solution for the handle.
Here a short timelapse. The lever that pulls up the glass container will definitely be the biggest challenge to tackle but I already got some ideas how to approach it. :)

Hi,
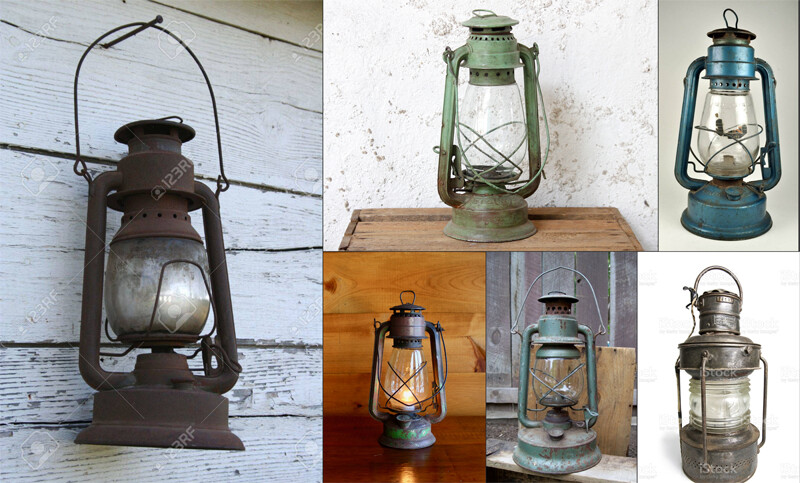
I've been working to improve my skills in houdini again and decided to work on a generator for old oil lanterns as practice.
I made a gif of the more interesting part of this generator.
The wires around the lamp will automatically adjust the shape of the glass. The way I created the wires is as follows:
Two starting points at the bottom will sent out a vector and I will grab the last intersection with the glass to create a line around the glass. Then I resample the result and have the line project onto the glass with a ray node. I also add some nice break up noise to the wire in a vop node while masking its starting points.


I'm not finished yet as there are some parts missing so there is more to follow soon. :)
Hi,
Currently working on this sculpt of a witch that is turning into a tree. A merge between tissues, bones and gnarly tree structures make this an exciting fantasy piece to sculpt.


I continue to create different features of the window generator.
In this gif you can see the trim around the window. So far I created a quadratic variation of it, later on I wanna use the original shape to create the trim as well. The trim is based on the bounds of the original curve that's used for distributing any shapes inside it.

In the following gif you can see two sweeping curves interpolating between each other based on a ramp. I build my own sweeping node based on VEX for this because I wanted to be able to transition between shapes. So far this only supports two shapes though.

These two very different shapes are interpolating. The way this works is that the curve that has a higher point count will project its points onto the curve with less points and then a for loop will transition between both points positions. These then will be copied to the points of the back bone curve based on the float values of the ramp from 0.0 (Shape 1) to 1.0 (Shape 2).


The glasses and grilles are really not that complicated, I reused some older wrangles to generate a grid for the grilles but this method works independently. A showcase can be seen in the gif. The example shows one of the circular window features.


I learned a ton from these tasks indeed! :)
An overview of what is planned right now (could be extended):
A few years ago I already sank my teeth into Houdini, it was just playing around with it really. Now after really getting into the software for a few months I've taken up the task to learn it fully and taking it serious. Actually Houdini represents what I always wanted from Maya but really couldn’t get because of its nature. Full control over every aspect of the creation of something procedurally. I’m really addicted now.
After learning more of the nodes of Houdini I really wanted to dig deeper into the software to understand how to solve technical problems. For this reason I started learning VEX seriously. I learned a great deal from David Kahl and really just google a lot. haha
I wanted to make something contained, that really brings out the creative problem solver in me so I decided to go with a window generator, which sounds simple at first. However I wanted to give the user as much freedom as possible and that means adding any type of shape that can be made into decorative pieces for example. I started looking at gothic window designs to find a pattern in them and decided to build a system based on that.

In order to do that I created a tool that lets you create all sorts of curve shapes. Since this one HDA really is based on stuff I collected online, it’s not really worth mentioning too much, I’m just clarifying so there is no gap. It does however have some nifty controls for the smoothness of the shape etc, gives some additional control over the look. Still simple stuff.
Later down the line I wanna extend this tool with more varied possible starting shapes as well.

The real power comes in play with a tool I made that can boolean curve shapes with each other, right now you can only unite and subtract shapes from each other. Most of the math behind this is done in VEX.
The tool works like this(Union):
A trace goes from the origin of Shape A to the points of Shape B and beyond to intersect with the polylines of shape A. If the distance is less than the intersection position of the trace then the point must be inside Shape A. This way you can decide that the point needs to be deleted. Before deleting the points it will add new points to where both shape’s geometry meets. The polylines will then be deleted alongside the flagged points from before, the curve shapes will be reordered(the order will always stay correct) and the curve can be redrawn correctly as one final shape.
This process is very similar for the subtraction as well, here I just reversed a few “greater than” equations to “less than” in the VEX code. Simple changes.


The next part I wanted to create is how to align shapes inside another shape, in this case a window frame. The way this works is a traceline goes across the window frame curve shape sideways and will create two points. These points then trace downwards and create 2 more points which then combines into a 4 sided plane that I use to fit other curve shapes to. The planes can be seen in the gif just as demonstration to see what’s going on in the background. The plane that fits the curve shapes can also be subdivided into smaller divisions to have more control over the number of shapes which I probably could have done with a node but ended up doing it with VEX also to not just have more control but widen my knowledge obviously.


Currently I'm working on the frames of the features. You will be able to smoothly transition between 2 sweeping profiles. I'm building my own sweeping node to have more control.
An overview of what is planned: